MAY I VISIT THE FARM?
The farm does not have a storefront, nor to we host tours. Our building houses our drying room and commercial kitchen. it is our production facility and creative studio.
We do offer CURBSIDE PICKUP by appointment for locals and those in town for a visit.
We invite you to shop our online store where you will find all of the small batch products we create. We offer Flat-Rate shipping across Canada, and Free Shipping on orders over $75.
We are so proud of our sustainable farming practices and the products we create here. On our farm we grow, dry and distill aromatic plants to create our unique line of plant based products. Visit our YouTube channel for garden and DIY herb tips!
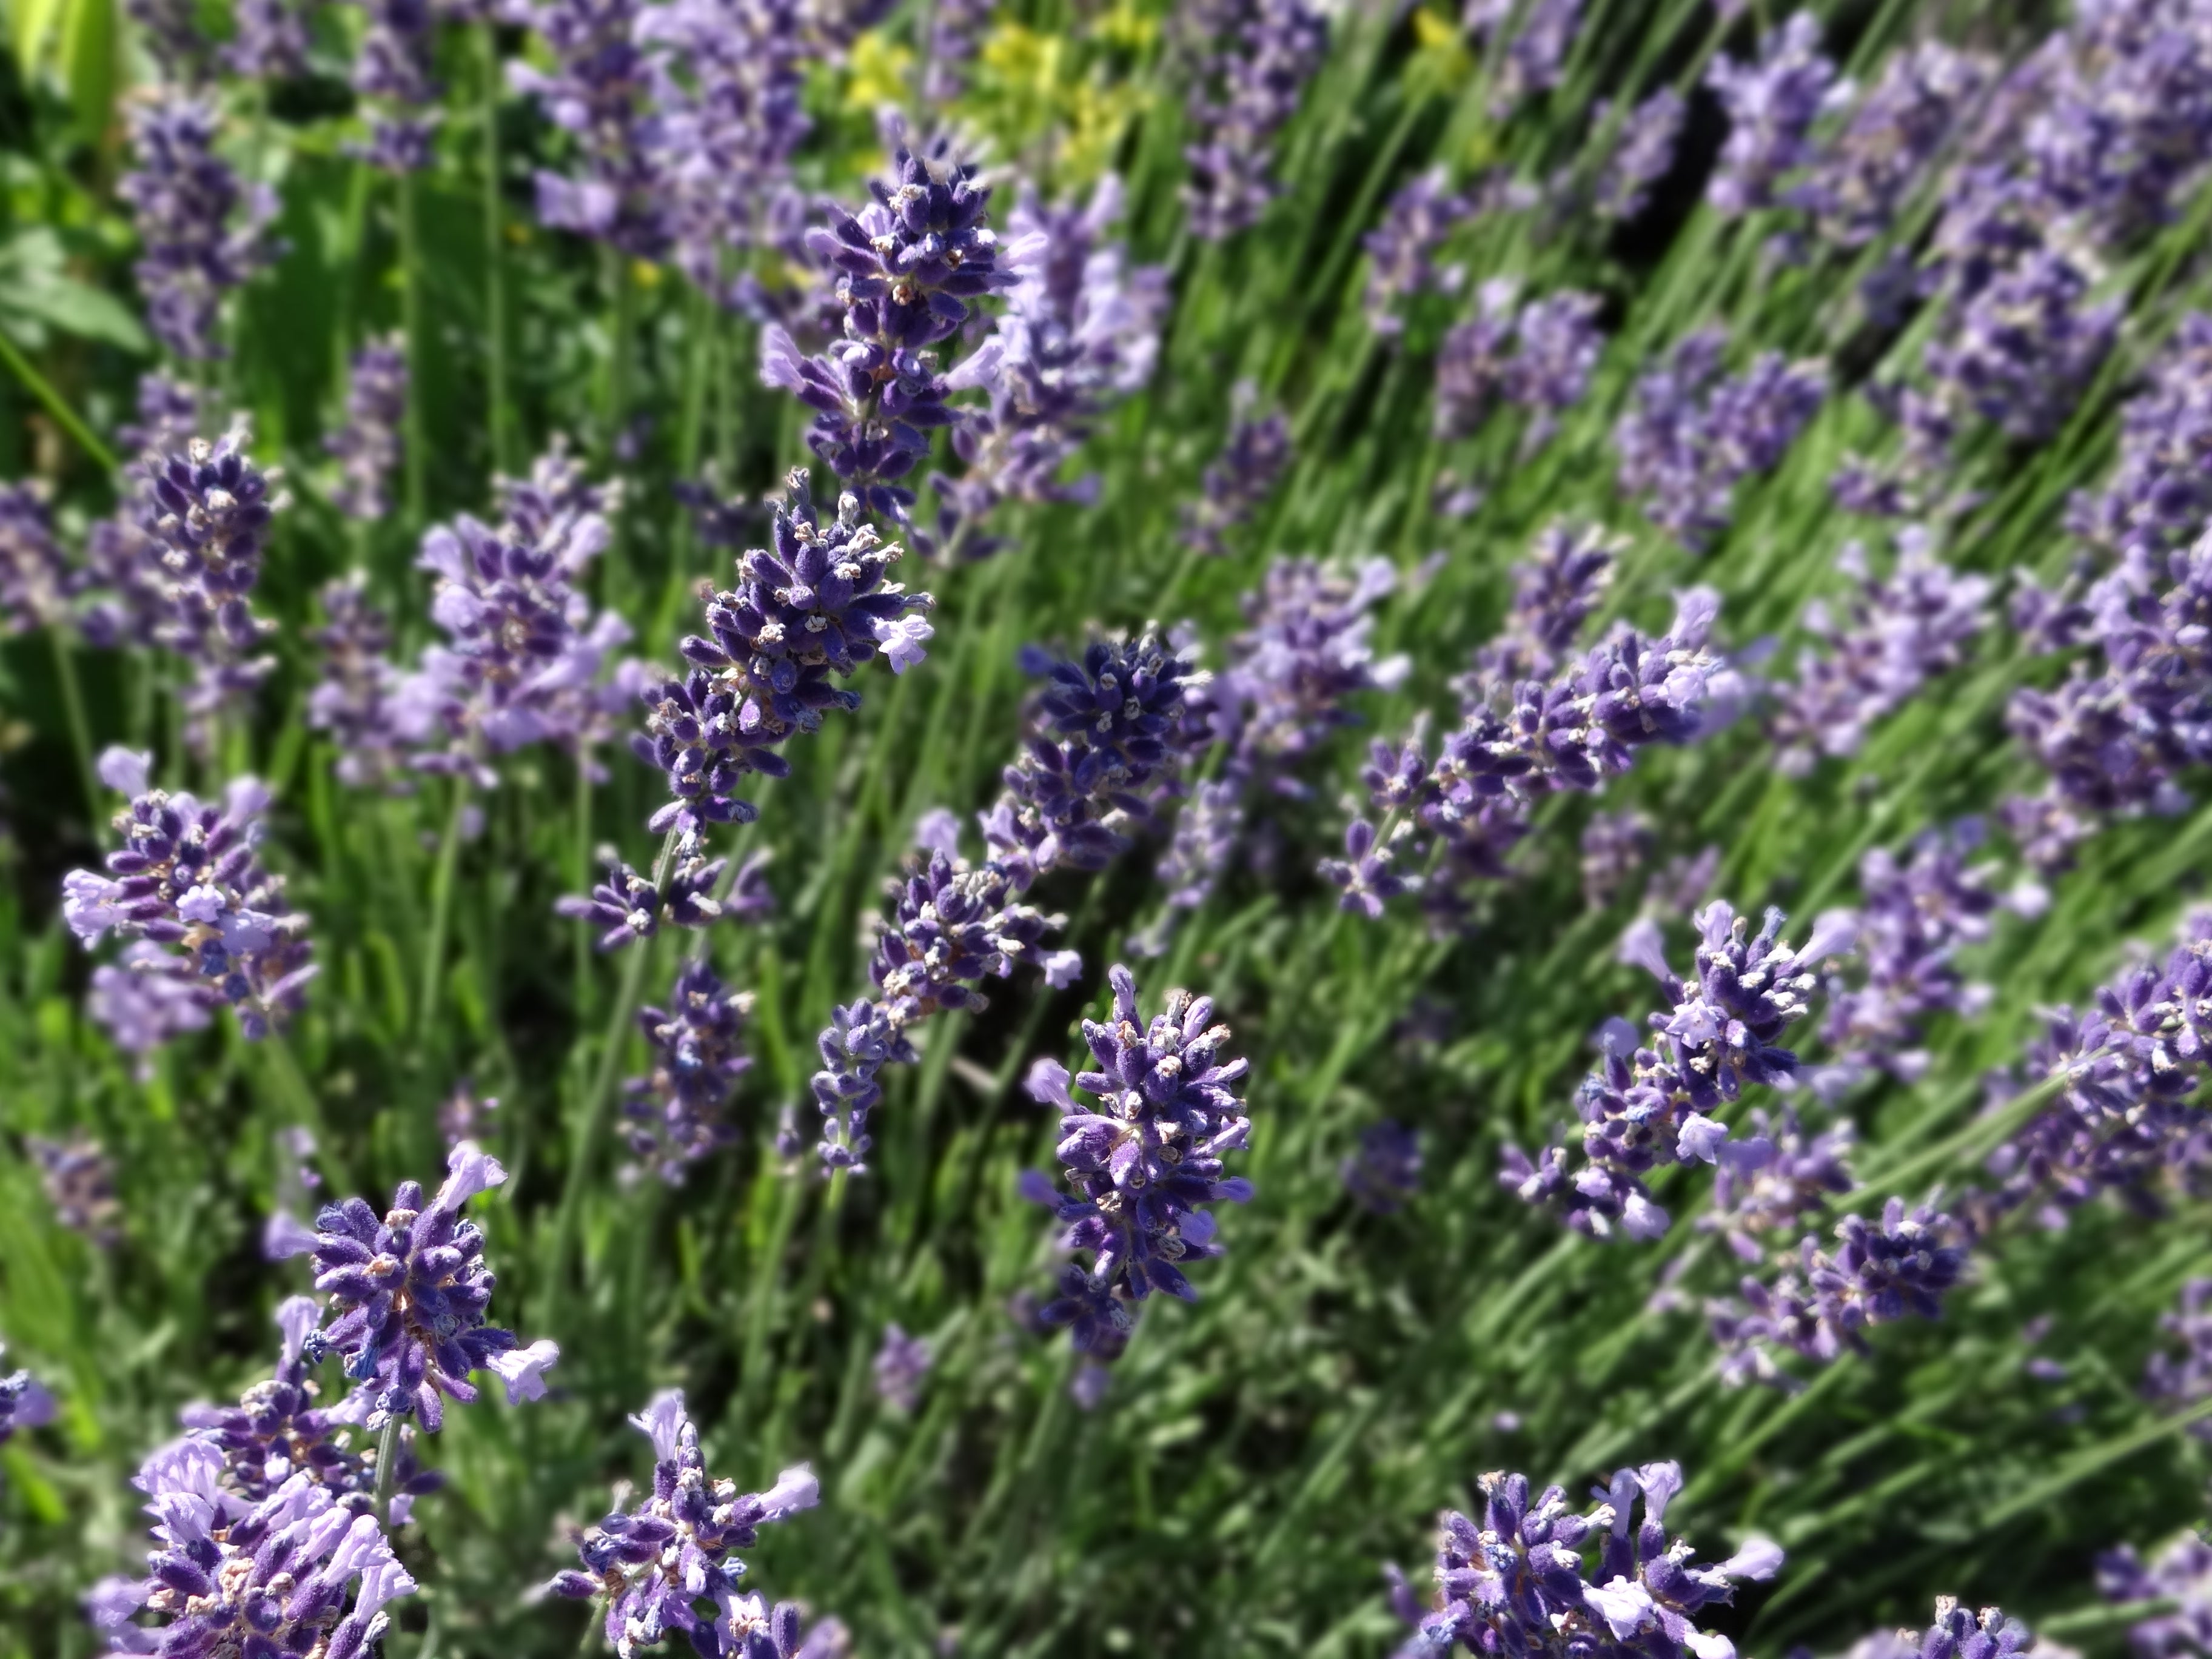
HOW MANY PLANTS DO YOU GROW?
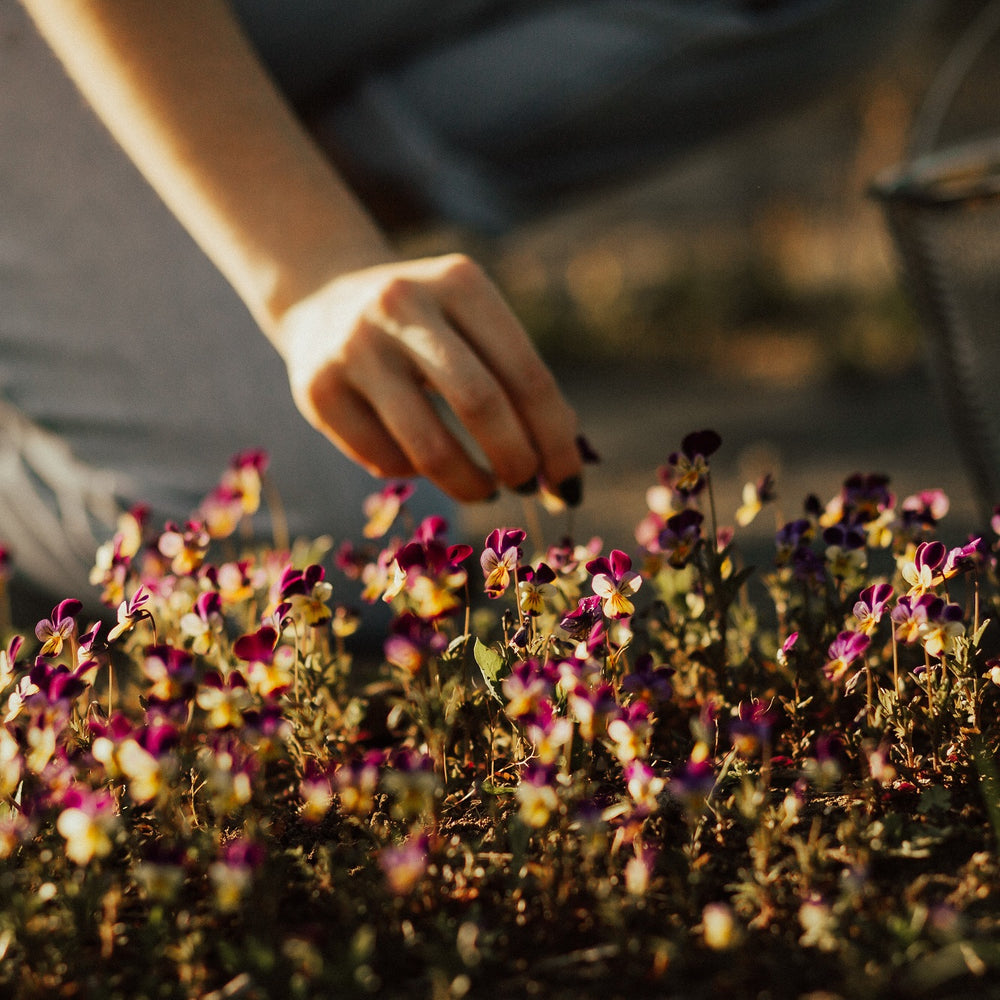
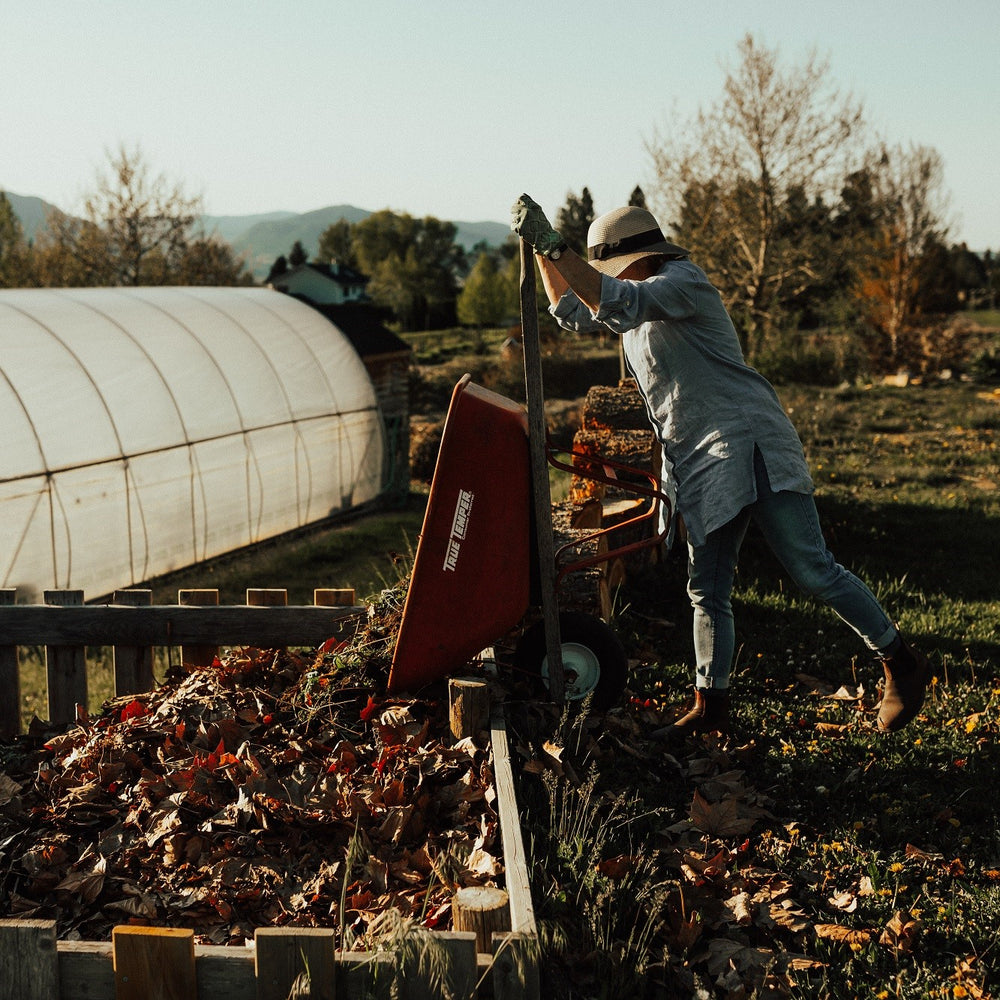
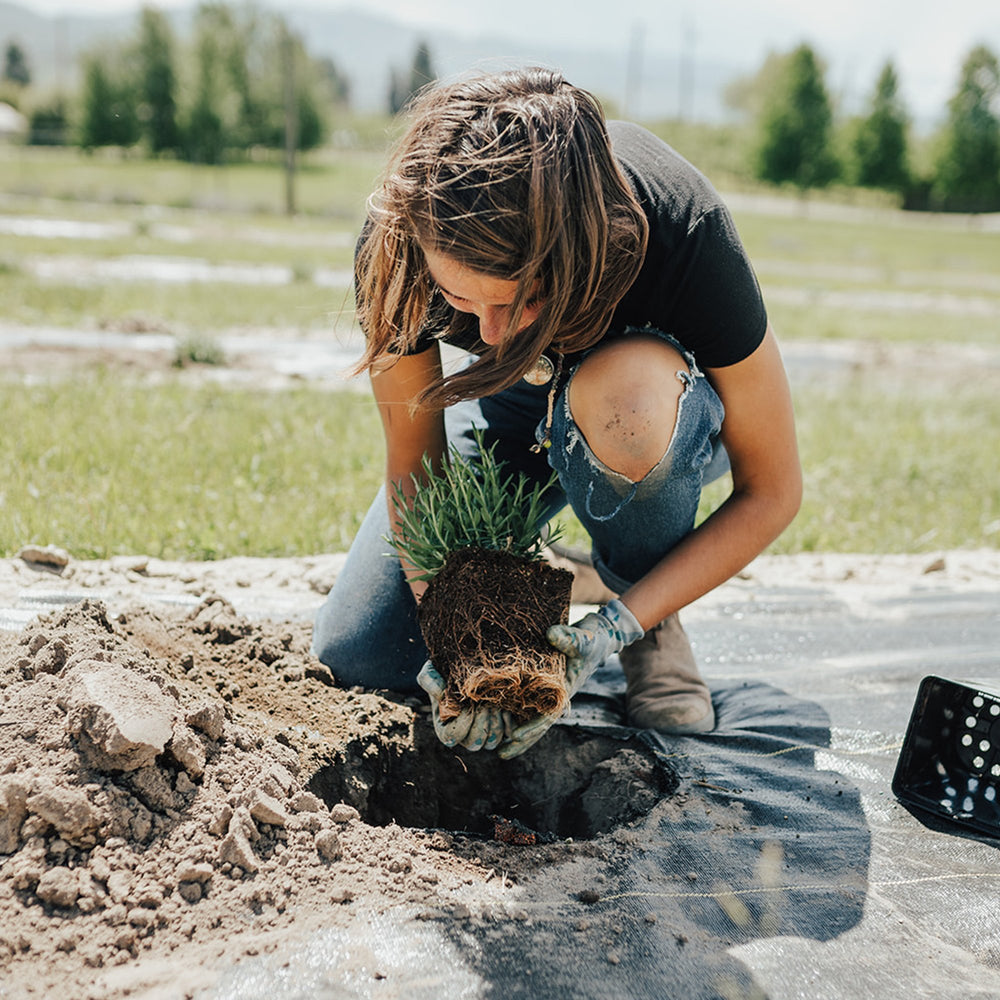
Our farm is full of many different aromatic herbs, plants and trees that we harvest to dry or distill and then use in our products. Throughout the growing season from May into September (and some years even October) you can find us picking calendula, rose petals, rose hips, oregano, birch, linden, thyme, cedar, savory, fir, basil, witch hazel, rosemary, pine, helichrysum, lemon balm, lemon verbena, lemon grass, bee balm, nepeta, peppermint, spearmint, chamomile, yarrow, lavender, violas, rose geranium, echinacea, sage…as they say, there’s always room for another plant in the gardener’s garden!
WHO MAKES YOUR PRODUCTS?
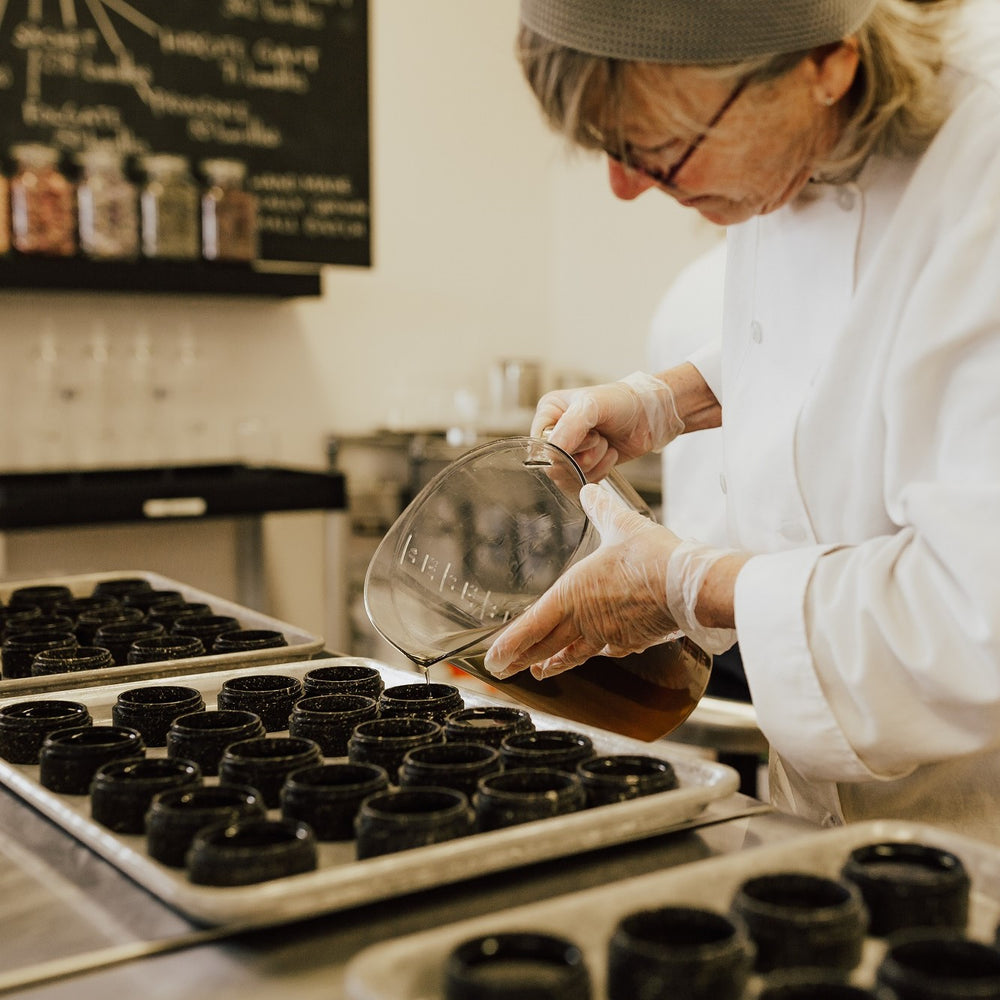
We do! Our products are handmade in small batches on-site in our Food Safe Certified commercial kitchen, following all Health Canada HACCP regulations. We wear chef coats, hats and gloves, and use mixing bowls, whisks, beakers and measuring cups. Your product was likely crafted to the tune of one of us singing along to an old CD.
HOW LONG DO YOUR PRODUCTS LAST?
Our products are made with real ingredients and contain no artificial preservatives or shelf stabilizers. While certain ingredients naturally help to extend shelf life (like vitamin E oil and rosemary essential oil), we recommend enjoying your product within one year of purchase to ensure utmost quality and freshness.
When using natural products remember they have 4 enemies (HALT):
-
HEAT: keep at a constant temperature, a medicine cabinet is perfect!
-
AIR: seal tightly to prevent air from entering your container
-
LIGHT: protect from sunlight
-
TIME: use in a timely fashion but remember, Best Before does not mean Bad After – products with vegetable oils will go rancid with time, but if they still smell pleasant after your Best Before date, it is fine to continue using them.
WHERE DO YOUR INGREDIENTS COME FROM?
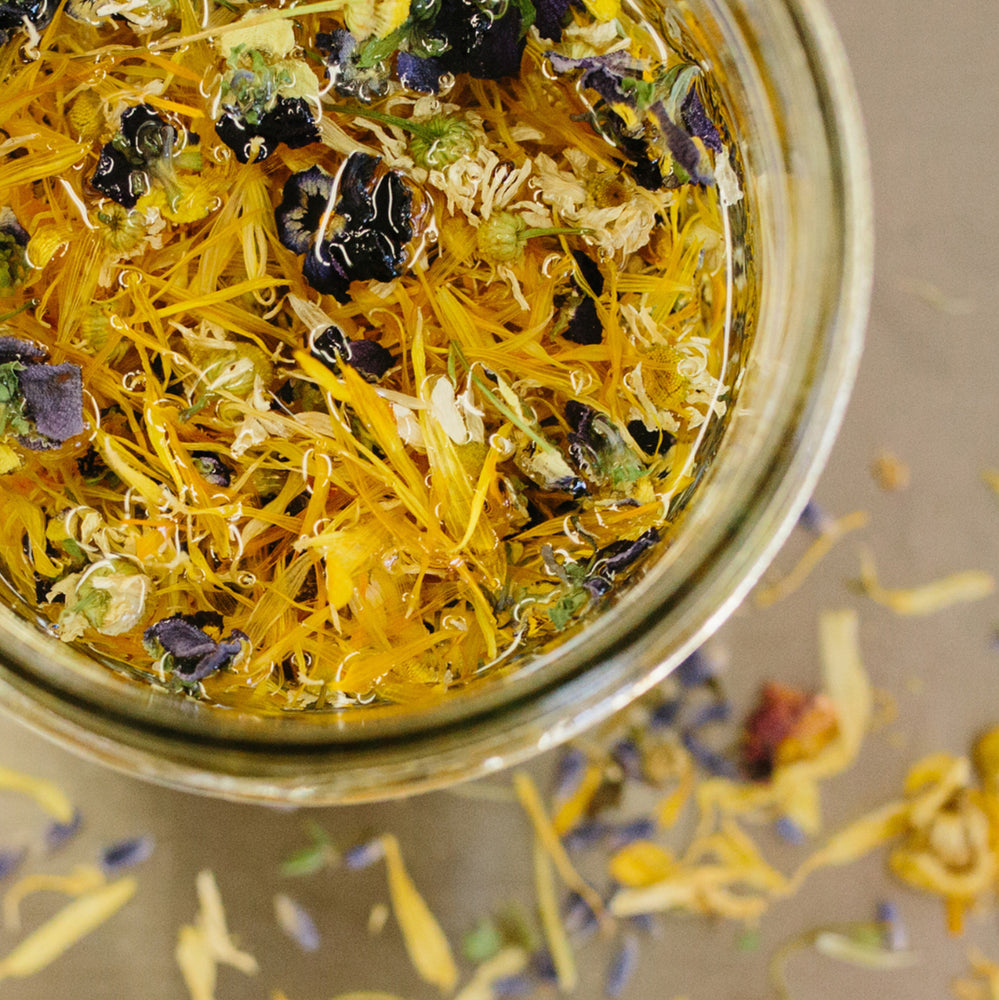
We grow, dry, distill and infuse the plants and herbs on our farm to be used as ingredients for our products. To complement our 100% farm ingredients, we carefully select local and sustainably sourced, organic and Fair Trade oils, butters, essential oils and botanicals to craft our unique, handmade products.
ARE YOUR ESSENTIAL OILS PURE?
Yes! Our essential oils are 100% pure and unadulterated. Many of the essential oils we use in our products are grown and steam distilled here on our farm directly after harvest to ensure the highest quality of the oil – many of our lavender essential oils have won international awards! The essential oils that we do not distill on our farm are sourced from trusted, transparent and sustainable suppliers.
ARE YOUR OILS TESTED?
Each year we send our oils to competitions in New Zealand and Australia and many of our lavender essential oils have won awards. Enrolling in the competitions provides us with gas chromatography analysis on the oils: these reports let us know if the oils are in acceptable ranges, what we are doing well and how we compare to other producers.
CAN I INGEST LAVENDER ESSENTIAL OIL?
Our culinary-grade lavender essential oil can be used to add a delicious floral flavour to desserts such as chocolate truffles or whipping cream. A little goes a long way – use 2 drops of essential oil for 500mL of whipping cream or 500gm of chocolate.
We do not recommend ingesting essential oils on their own; that would be a conversation to have with your health care practitioner.
CAN I PURCHASE OTHER ESSENTIAL OILS THAT YOU PRODUCE BESIDES LAVENDER?
All of the essential oils we produce are used exclusively in the products we create; we do not sell them as single botanicals. This includes red cedar, Douglas fir, lemongrass, lemon verbena, rose geranium, rose, spearmint, linden, thyme, sage, rosemary.
WHAT IS A HYDROSOL?
When you distill for essential oils, you also collect a water-based product called a hydrosol, hydrolat or floral water. Plant material is placed in a hopper on a screen above water. When the water boils, it turns to steam and travels up through the plant material releasing the volatile oils of the plant. It then travels through a cold-water bath and returns to a liquid state. This liquid goes into a separator, essencier or Florentine flask – the oils floats on top and is separated from the hydrosol. Thus, a hydrosol is the water-soluble plant extraction and has trace amounts of essential oil.
Hydrosols have a delicate aroma and are gentle to use on your skin, excellent for hydrating and toning dry skin.
Lavender hydrosol has a unique honey-like, herbaceous aroma, quite different than the essential oil.
A PRODUCT I BOUGHT A COUPLE OF YEARS AGO IS NOT ON YOUR WEBSITE – DO YOU STILL MAKE IT?
We rebranded our product lines in 2018 – some products were discontinued, but others we simply renamed!
- From Foot Spray to ‘Botanical Breeze’ Body Deodorizer
- From Lavender Linen Spray to ‘Lavender Field’ Aromatherapy Room Mist
- From Toning Serum to Dry Skin Face Serum
- From Blemish Serum to Oily Skin Face Serum
- From Mature Skin Face Toner to Sensitive Skin Botanical Toner
- From Gardener’s Rescue Massage Oil to ‘Ease’ Roll On Remedy
ARE YOUR PRODUCTS CRUELTY-FREE?
Yes! We have our family, friends and staff test our products – they are never tested on animals, but 15mL of Lavender Hydrosol is lovely in your dog's rinse water.
ARE YOUR PRODUCTS TOXIN-FREE?
Yes! We pride ourselves on the natural ingredients we carefully source to ensure our products are 100% free from preservatives and additives, and we are proud to have our skin and body care products CertClean certified. What we can’t grow ourselves, we source from farms or trustworthy companies with organic, ethical and Fair Trade options. We believe in the magic of plants, and we don’t believe our products need chemicals or preservatives to make you feel radiant!
IS YOUR FARM CERTIFIED ORGANIC?
We have spent the past twenty years converting our farm from a conventional apple orchard to a sustainable model that embraces the principles of regenerative agriculture and integrated pest management in the cultivation of our herbs. While our farm is not certified organic, our crops are grown in a spray-free environment, hoed and harvested by hand, picked at their peak and processed on-site in small batches.
HOW DO YOU DRY YOUR HERBS?
Our drying room is equipped with an Earth-Air exchange system: a passive system that circulates air through the drying room with fans instead of heat, thus preserving the flavour of our herbs.


how do you protect the plants for the winter?
what hardiness zone are you growing in?
what is the hardiest lavender? I live between Cache Creek and Clinton. We have winter winds and open fields. Thanks Merry Christmas. Hoping to visit in the summer